
Mistfall Hunter builds | Updated October 2026
Mistfall Hunter Builds: 6 Class Setups for Solo, Duo, and Squad
Compare practical Mistfall Hunter builds for six classes across solo, duo, and squad runs, then adapt the direction in the interactive build planner.
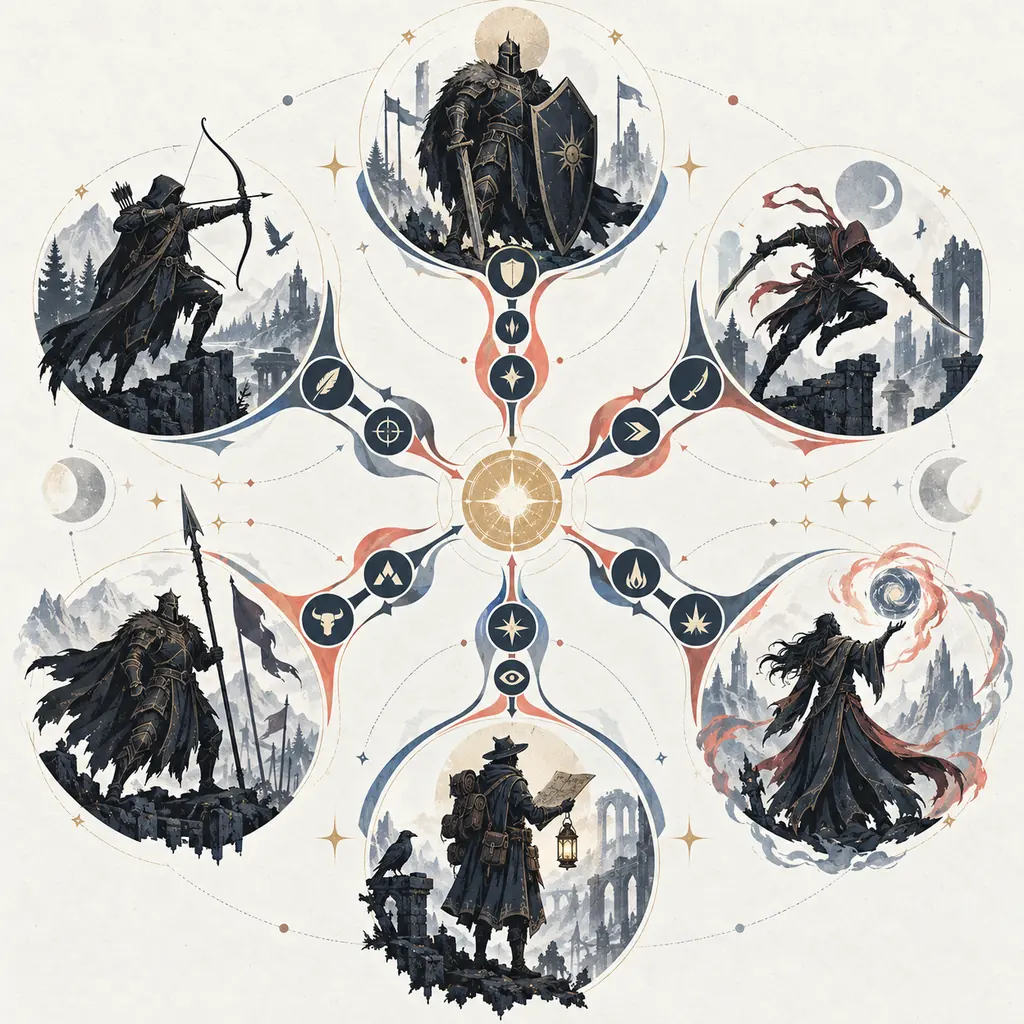
Quick answer: choose a job and a risk budget before copying a build
The best Mistfall Hunter build is the one that gives your run a clear job. Start with the format you actually play, decide how much risk you can recover from, and then choose a class whose combat rhythm supports that decision. A solo player usually needs recovery and a clean disengage. A duo needs a pair of complementary jobs. A squad can spend more of its budget on control, scouting, or burst because teammates cover the gaps.
This page is a set of starting directions, not a permanent meta list. Mistfall Hunter balance, route knowledge, and your own equipment will move the result. Use the class guide for role definitions, this page for repeatable build logic, and the build planner for a quick recommendation when you are unsure. Then test the direction in a real extraction and record what actually caused the run to fail.
The important boundary is between a build and a shopping list. A build says what the class must accomplish, which stat or ability type supports that job, and which mistake it can survive. It should also state when to leave. If a recommendation cannot explain its exit plan, it is incomplete for an extraction game.
Mistfall Hunter builds at a glance
| Run format | Primary goal | Good starting class | Build priorities | Risk to watch |
|---|---|---|---|---|
| Solo | Survive mistakes and extract | Mercenary | Recovery, steady damage, disengage | Staying for one more fight |
| Solo burst | Create a short winning window | Shadowstrix | Positioning, burst timing, escape route | A missed engage with no reset |
| Duo | Cover two jobs with clear calls | Blackarrow + Withered Knight | Range plus space control | Splitting before contact |
| Squad control | Shape fights for the team | Seer or Sorcerer | Information, zone control, cooldown rhythm | Using utility after the fight is lost |
| Beginner squad | Learn the loop safely | Mercenary + Seer | Forgiving frontline, information, simple calls | Copying high-risk clips |
How to read a build before you commit
Read every recommendation in three layers. The first layer is the job: anchor, scout, burst, control, or support. The second is the condition that makes the job work, such as a safe angle, a cooldown window, or a teammate who can hold attention. The third is the exit rule. For example, a burst build is not complete until it says what happens after the target survives the first window.
Avoid treating a high-damage label as a universal upgrade. Damage that arrives late may be worse than moderate damage that lets the team leave safely. Likewise, a support choice only has value when the player can stay alive long enough to provide information or control. The practical test is whether the build reduces the number of decisions you must make at once during a messy fight.
Use the existing tier list as a comparison tool, not as the page's main answer. A tier position summarizes a mode and a set of assumptions; a build direction explains how to play inside those assumptions. If the two disagree after a patch, trust the dated evidence and your own repeated runs rather than a copied ranking image.
1. Name the job
Write one sentence such as 'I hold space until the squad can extract' or 'I create a flank and leave before the trade becomes even.' If the sentence needs five roles, the build is unfocused.
2. Name the failure
State the first mistake that loses value: overextending, missing a burst window, standing in the open, or spending utility too early. A build is useful when it tells you what to stop doing.
3. Name the exit
Choose the route, cooldown, teammate, or information signal that starts the retreat. Extraction timing is part of the build, not a separate afterthought.
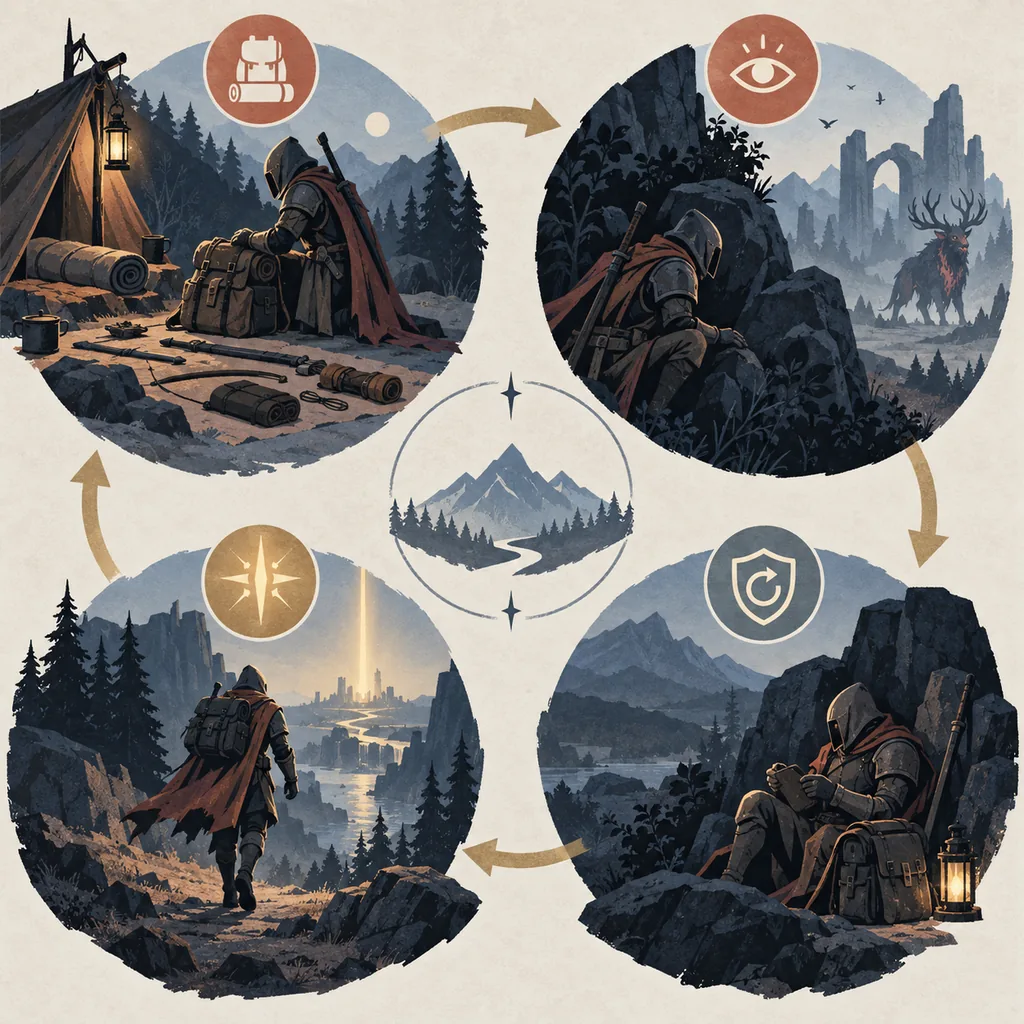
Class-by-class build directions
Mercenary is the cleanest baseline for a first solo build. Give it a durable frontline job, a repeatable damage pattern, and enough recovery to finish a route after a mistake. The goal is not to win every duel. It is to keep the run playable after a bad trade and to leave before a second fight compounds the damage.
Blackarrow works when the build protects distance and information. Plan the route around sight lines, early contact, and a fallback angle. Its value drops when the player is forced into a cramped fight with no time to scout, so a duo partner who can hold space makes the same direction more reliable.
Shadowstrix is a burst and repositioning direction. Build the plan around one clean engage, a fast confirmation of whether it worked, and a reset if it did not. The common failure is turning an ambush into a long fair fight. If the first window closes, the build should already have an exit.
Sorcerer is strongest when the group can predict where a fight will happen. Use area pressure to deny a route or force movement, then let the squad act on the space created. Do not spend every cooldown on the first visible target; the build needs a second layer for the retreat or the next contact.
Seer is a support and information direction. Its build is judged by earlier decisions: a safer route, a better call, or a fight avoided because the squad knew enough to leave. Keep the player alive and close enough to convert information into action. A support build that wanders away from the team is only a fragile solo build.
Withered Knight is a durable initiator for players who want to hold space and protect a retreat. Pair its sturdiness with a clear boundary: where you stand, when you stop chasing, and which teammate gets the safe exit. It is especially useful for learning because it makes the cost of one positional error easier to see without erasing every consequence.
Solo: Mercenary or Shadowstrix
Pick Mercenary when your main problem is surviving ordinary mistakes. Pick Shadowstrix when you already recognize favorable angles and can leave after a failed burst. The difference is decision quality, not a simple damage ranking.
Duo: Blackarrow plus Withered Knight
One player creates information and ranged pressure while the other anchors space. Agree on the retreat signal before contact so the pair does not split after the first hit.
Squad: Seer, Sorcerer, and a frontline
A control or support role has room to work when a frontline class makes the fight legible. Assign one caller for the engage and one trigger for the exit; duplicated calls waste the utility advantage.
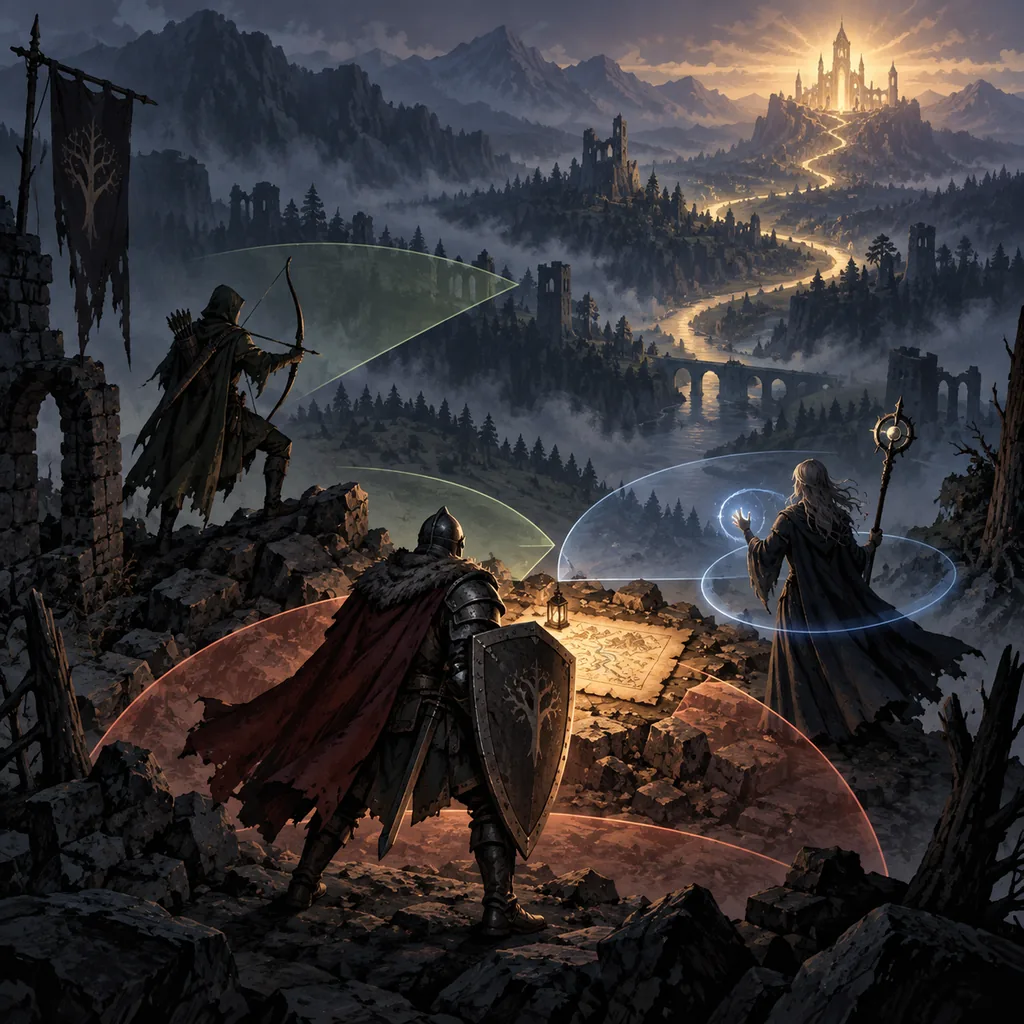
What to change after a failed run
| What went wrong | Change one variable | Keep constant |
|---|---|---|
| Died before the first extraction | Lower risk or choose a more forgiving class | Route goal and exit signal |
| Won fights but lost the kit later | Leave after the first valuable objective | The opening engage |
| Could not start a fight | Add scouting or a clearer angle | The class job |
| Team split on contact | Assign a caller and retreat trigger | The same two-job pairing |
| Utility felt wasted | Hold one cooldown for the exit | The planned fight location |
A five-minute build-planning workflow
First, choose the run format and write the job in one sentence. Second, open the build planner and use its recommendation as a baseline rather than a final answer. Third, select one priority that supports the job and one limitation you will actively watch. Fourth, decide what information tells you to leave. Finally, play enough runs to separate a bad build from a bad decision made once.
Keep changes small between runs. If you swap class, risk level, route, and team role together, you cannot tell which change helped. A simple notes line is enough: format, class, first failure, exit signal, and whether the build did its job. That record becomes more useful than a copied build title because it is tied to your own play pattern.
For current platform or performance questions, check the Steam page and the site's system-requirements guide separately. Those are factual checks, while the build recommendations here are editorial and time-sensitive. Revisit them after confirmed balance updates or when your squad changes its normal format.
Mistfall Hunter builds FAQ
What is the best Mistfall Hunter build?
There is no single best build for every mode. Mercenary is the safest baseline for a new solo player, while Shadowstrix, Sorcerer, Seer, Blackarrow, and Withered Knight become stronger choices when their specific job and exit plan match the run.
Is this page the same as the Mistfall Hunter build planner?
No. The build planner is an interactive class recommendation tool. This page explains repeatable build directions and failure checks so you can adapt a recommendation instead of copying a fixed preset.
What is a good Mistfall Hunter Shadowstrix build?
Use a burst-and-reset plan: identify a favorable angle, commit to one short engage, confirm the result, and disengage if the target survives. Avoid turning the first missed burst into a long trade.
Which Mistfall Hunter build is easiest for beginners?
A Mercenary frontline direction is the easiest starting point for many players because it gives more room to learn routes and extraction timing. A Mercenary plus Seer squad also keeps early calls simple.
Should I follow the Mistfall Hunter tier list or a build guide?
Use the tier list to compare mode assumptions and the build guide to decide how to play a role. Neither replaces dated patch evidence or repeated runs in your own format.
How often should Mistfall Hunter builds change?
Change them when verified balance or gear information changes, or when your team format changes. Do not rebuild after one unlucky run; change one variable and record the result first.